
Checklist
The land listing shot list: every ground photo, in order
Every ground photo a land listing needs, in the order a buyer drives in, plus the extra shots for hunting, tillable, timber and lakeshore property.
By Jordan Johnson, Founder, Kedron Co.Updated 7 min read

A land listing needs ground photos of the way in, the lay of the ground, the water, the timber and the spots where a buyer would hunt, farm or build, shot in the order a buyer would drive in. Below is the full list: the core shots every parcel gets, the additions for hunting, tillable, timber and lakeshore property, and what to leave out.
Land.com's listing guide doesn't set a photo count; it says listings "with too few images or unclear photos leave buyers guessing" (Land.com, Anatomy of a Perfect Land Listing, July 2026). A hunting parcel with tillable and a creek needs enough photos to answer every question a buyer would ask on a walk. More guides like this one are under marketing land.
Before you shoot
- Walk it with the seller first. Mark each stop on a map: the gate, the high point, the creek crossing, each stand, the building site. That map becomes your shooting order.
- Pick the light. Shoot in the first two hours after sunrise or the last two before sunset. Low sun shows the roll of a field and the texture of timber. An overcast day works well inside the woods, where hard sun makes bright spots and black shadows.
- Know the season you're showing. Leaf-off shows the terrain, trails and sight lines. Summer shows crops, food plots and cover. Put the month and year in the captions so a buyer knows what they're looking at.
- Clean up. Move equipment, tires, burn piles and anything else that shouldn't be in the frame. A buyer reads clutter as work they'll have to do.
- Schedule around the hunting. Ask the seller which weekends they or their family hunt. Walking the timber the week before their gun season costs goodwill you'll need later.
- Bring a wide lens, a normal lens and a tripod. The tripod is for the last light of the day, when the best photos happen and shutter speeds get slow.
The core shots every land listing needs
Shoot these on every parcel, in this order. It's the order a buyer experiences the property, so it's also a good order for the gallery.
| # | Shot | What it answers for the buyer |
|---|---|---|
| 1 | The road approach | Paved or gravel, how it's maintained, what the drive in looks like |
| 2 | The entrance, gate or field approach | How you physically get onto the land |
| 3 | Road frontage | How much frontage there is and what it looks like |
| 4 | The internal trail or field road | Whether you can drive to the back, and in what |
| 5 | The overview from the highest point | How the ground lays |
| 6 | Each place the cover changes | Where tillable meets timber, where timber meets marsh |
| 7 | Water: creek, pond, spring or wetland | What water there is and where it sits |
| 8 | Inside the timber, at eye level | What the woods are like to walk through |
| 9 | The building or cabin site | Where a buyer would put a structure |
| 10 | Utilities: power pole, well, septic marker | What's already there, and how far power is |
| 11 | Corner markers or fence lines you can confirm | Where the parcel ends |
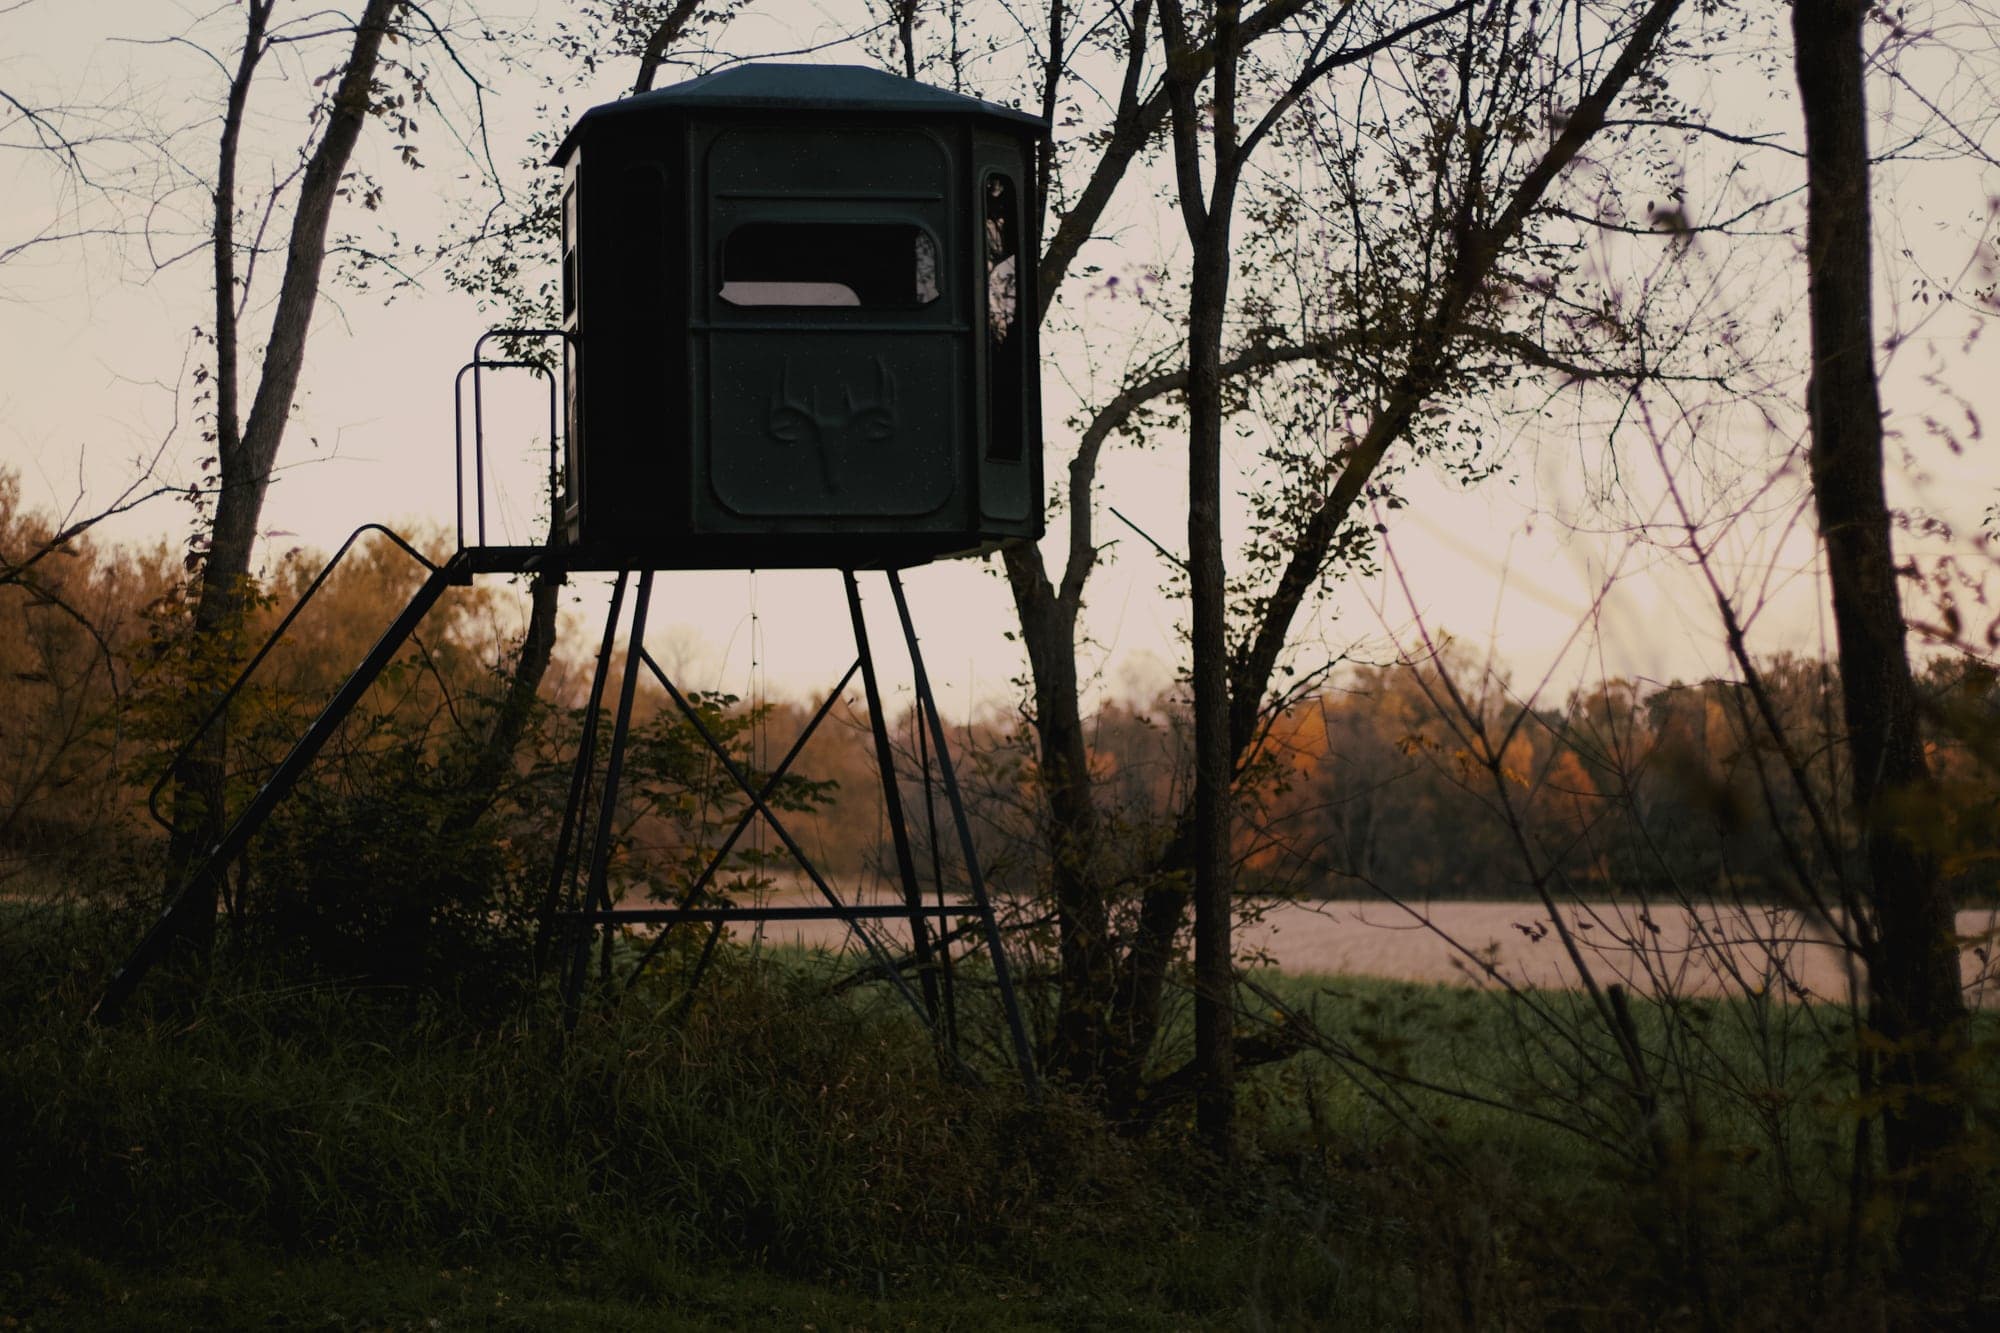
| 12 | Existing improvements: shed, cabin, stands | What's included in the sale |
| 13 | What's across the road or fence | Who and what the neighbors are |
| 14 | The view from the best spot | Why someone would want to sit there |
On shot 11, only photograph a line you can back up with a survey or a fence the seller is sure of. A photo that suggests a boundary in the wrong place is worse than no photo.
Hunting land: the shots to add
Hunting buyers are scouting from their couch. Give them what they would look for on a scouting walk.
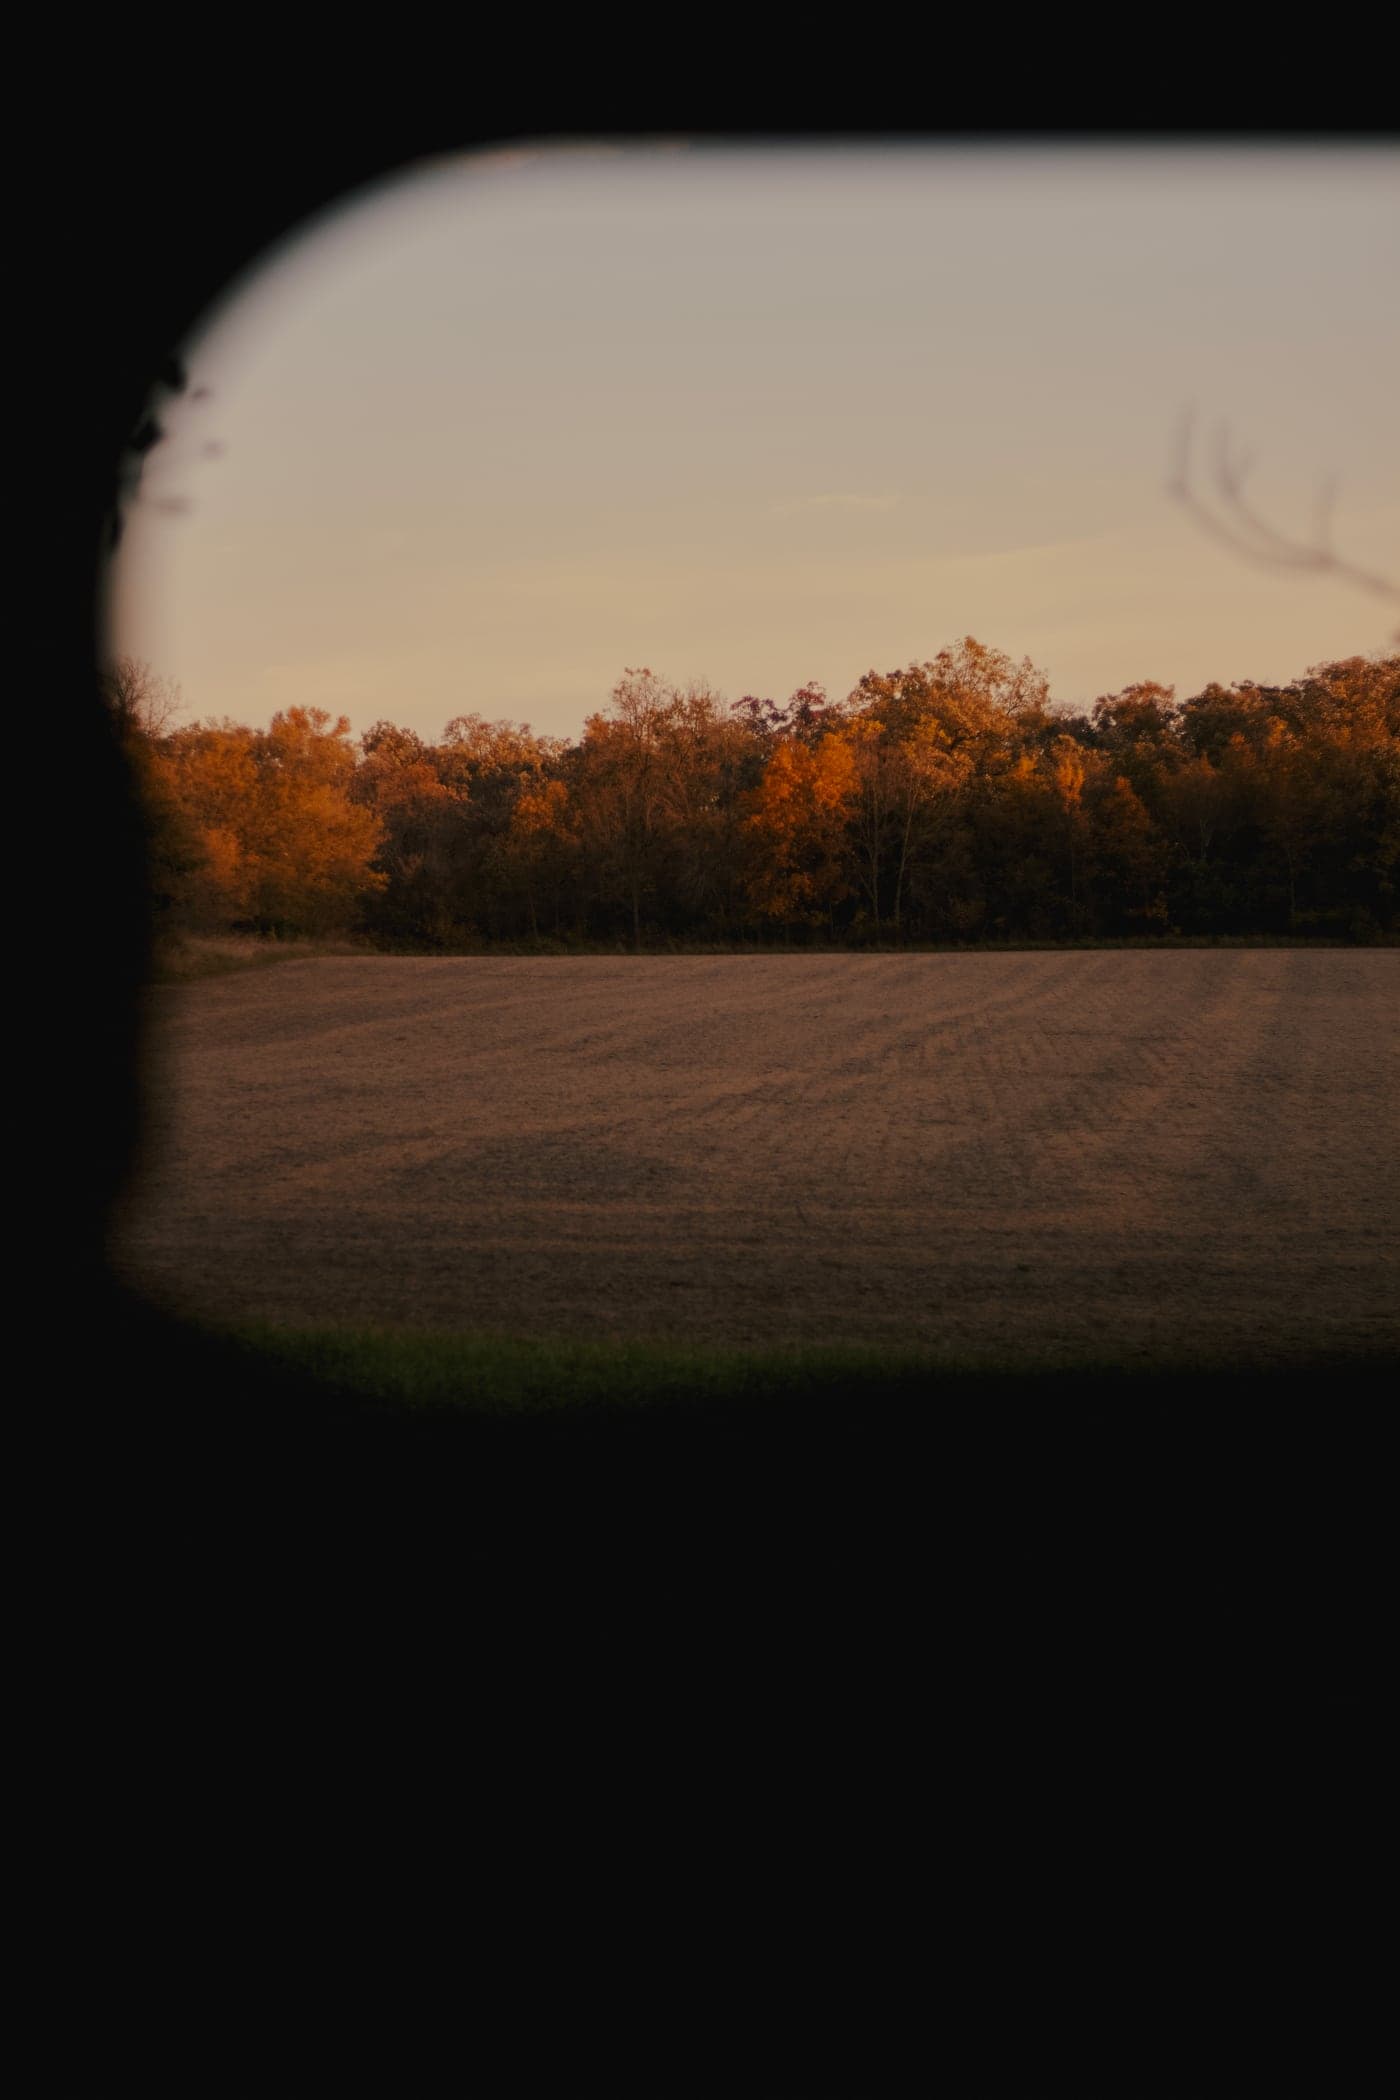
- Stand and blind sites, shot from the stand looking out. Show what the hunter would see, not the stand itself.
- The parking spot and the walk to each stand. A buyer wants to know they can get in without walking through the bedding.
- Food plots. Give the size in the caption and what was planted, if the seller knows.
- The edge of bedding cover. You can't photograph into thick cover, and you shouldn't walk through it. Shoot the edge and mark the rest on the map.
- Travel routes. Saddles, benches, inside corners, creek crossings, fence gaps.
- Sign, with dates. Rubs, scrapes and trails, in the captions with the month they were shot.
- Trail camera photos from the seller. Dated, from cameras on the property, labeled as the seller's. Put them in their own group at the end.
Tillable: the shots to add
- Each field from a corner, wide enough to show the whole field.
- Field entrances. A farmer will look at whether equipment fits.
- Drainage. Tile outlets, grassed waterways, terraces.
- What's in the field, crop or stubble, with the month in the caption.
- Bins and sheds, if they're part of the sale.
Soil quality doesn't photograph. Put it in the copy and on the map: CSR2 in Iowa, and the soil map for every state. How to write a land listing covers what goes in the words.
Timber: the shots to add
- Each timber type at eye level. The oak ridge, the aspen, the pine plantation, the lowland hardwoods. Buyers want to know the mix.
- Trunks with scale. A person standing next to a mature oak tells a buyer more than a number.
- Logging roads and skid trails. They double as hunting access.
- Past harvest areas. If there's a management plan or a past cut, show where, and say when in the caption.
Lakeshore and river frontage: the shots to add
- The shoreline from the water, from a boat or the end of a dock, so the buyer sees the frontage the way a neighbor on the water does.
- The water from the building site. What the view is from where a cabin would go.
- The slope to the water. How steep the walk down is.
- The bottom at the water's edge. Sand, rock or muck, in a close shot.
- Docks, lifts and landings included in the sale.
Where do the aerials fit?
Ground photos show what it's like to stand on the land. Aerials show its shape: the boundary, the acres of each cover type, the road, the neighbors and the public land nearby. A land listing needs both. Lead the gallery with the strongest aerial or the strongest ground view, then run the ground photos in drive-in order, and drop aerials in where they explain what comes next. The flight patterns and the FAA rules are in drone photography for land listings.
What to leave out
- Near-duplicates. Ten photos of similar trees tell a buyer you ran out of things to show.
- Photos from another season without saying so. A July photo on a listing that goes live in November needs "July 2026" in the caption.
- Heavy editing. No replaced skies, no oversaturated greens. The buyer will drive out and see the real thing.
- Undated trail camera photos, or photos from somewhere else.
- Anything that suggests the neighbor's ground is part of the sale. Frame the neighbor's field as the neighbor's field.
- People's faces and neighbors' houses, unless you have permission.
How to order and caption the gallery
- Lead photo: the single frame that best says what the property is.
- The core shots, in drive-in order.
- The property-type shots.
- Aerials, placed where they explain the ground photos around them.
- Trail camera photos last, labeled as the seller's.
Caption every photo with what and where: "Looking north from the east ridge toward stand 2, November 2026." A caption turns a pretty picture into information a buyer can check against the map.
Before the listing goes live
Check the gallery against the list above, then against the seller's map. If a buyer would ask "what does the back 40 look like?" and no photo answers it, go back and shoot it. The rest of the launch, from film to follow-up, is in how to market hunting land.